
Protecting Data: Threat Modeling for Small Teams
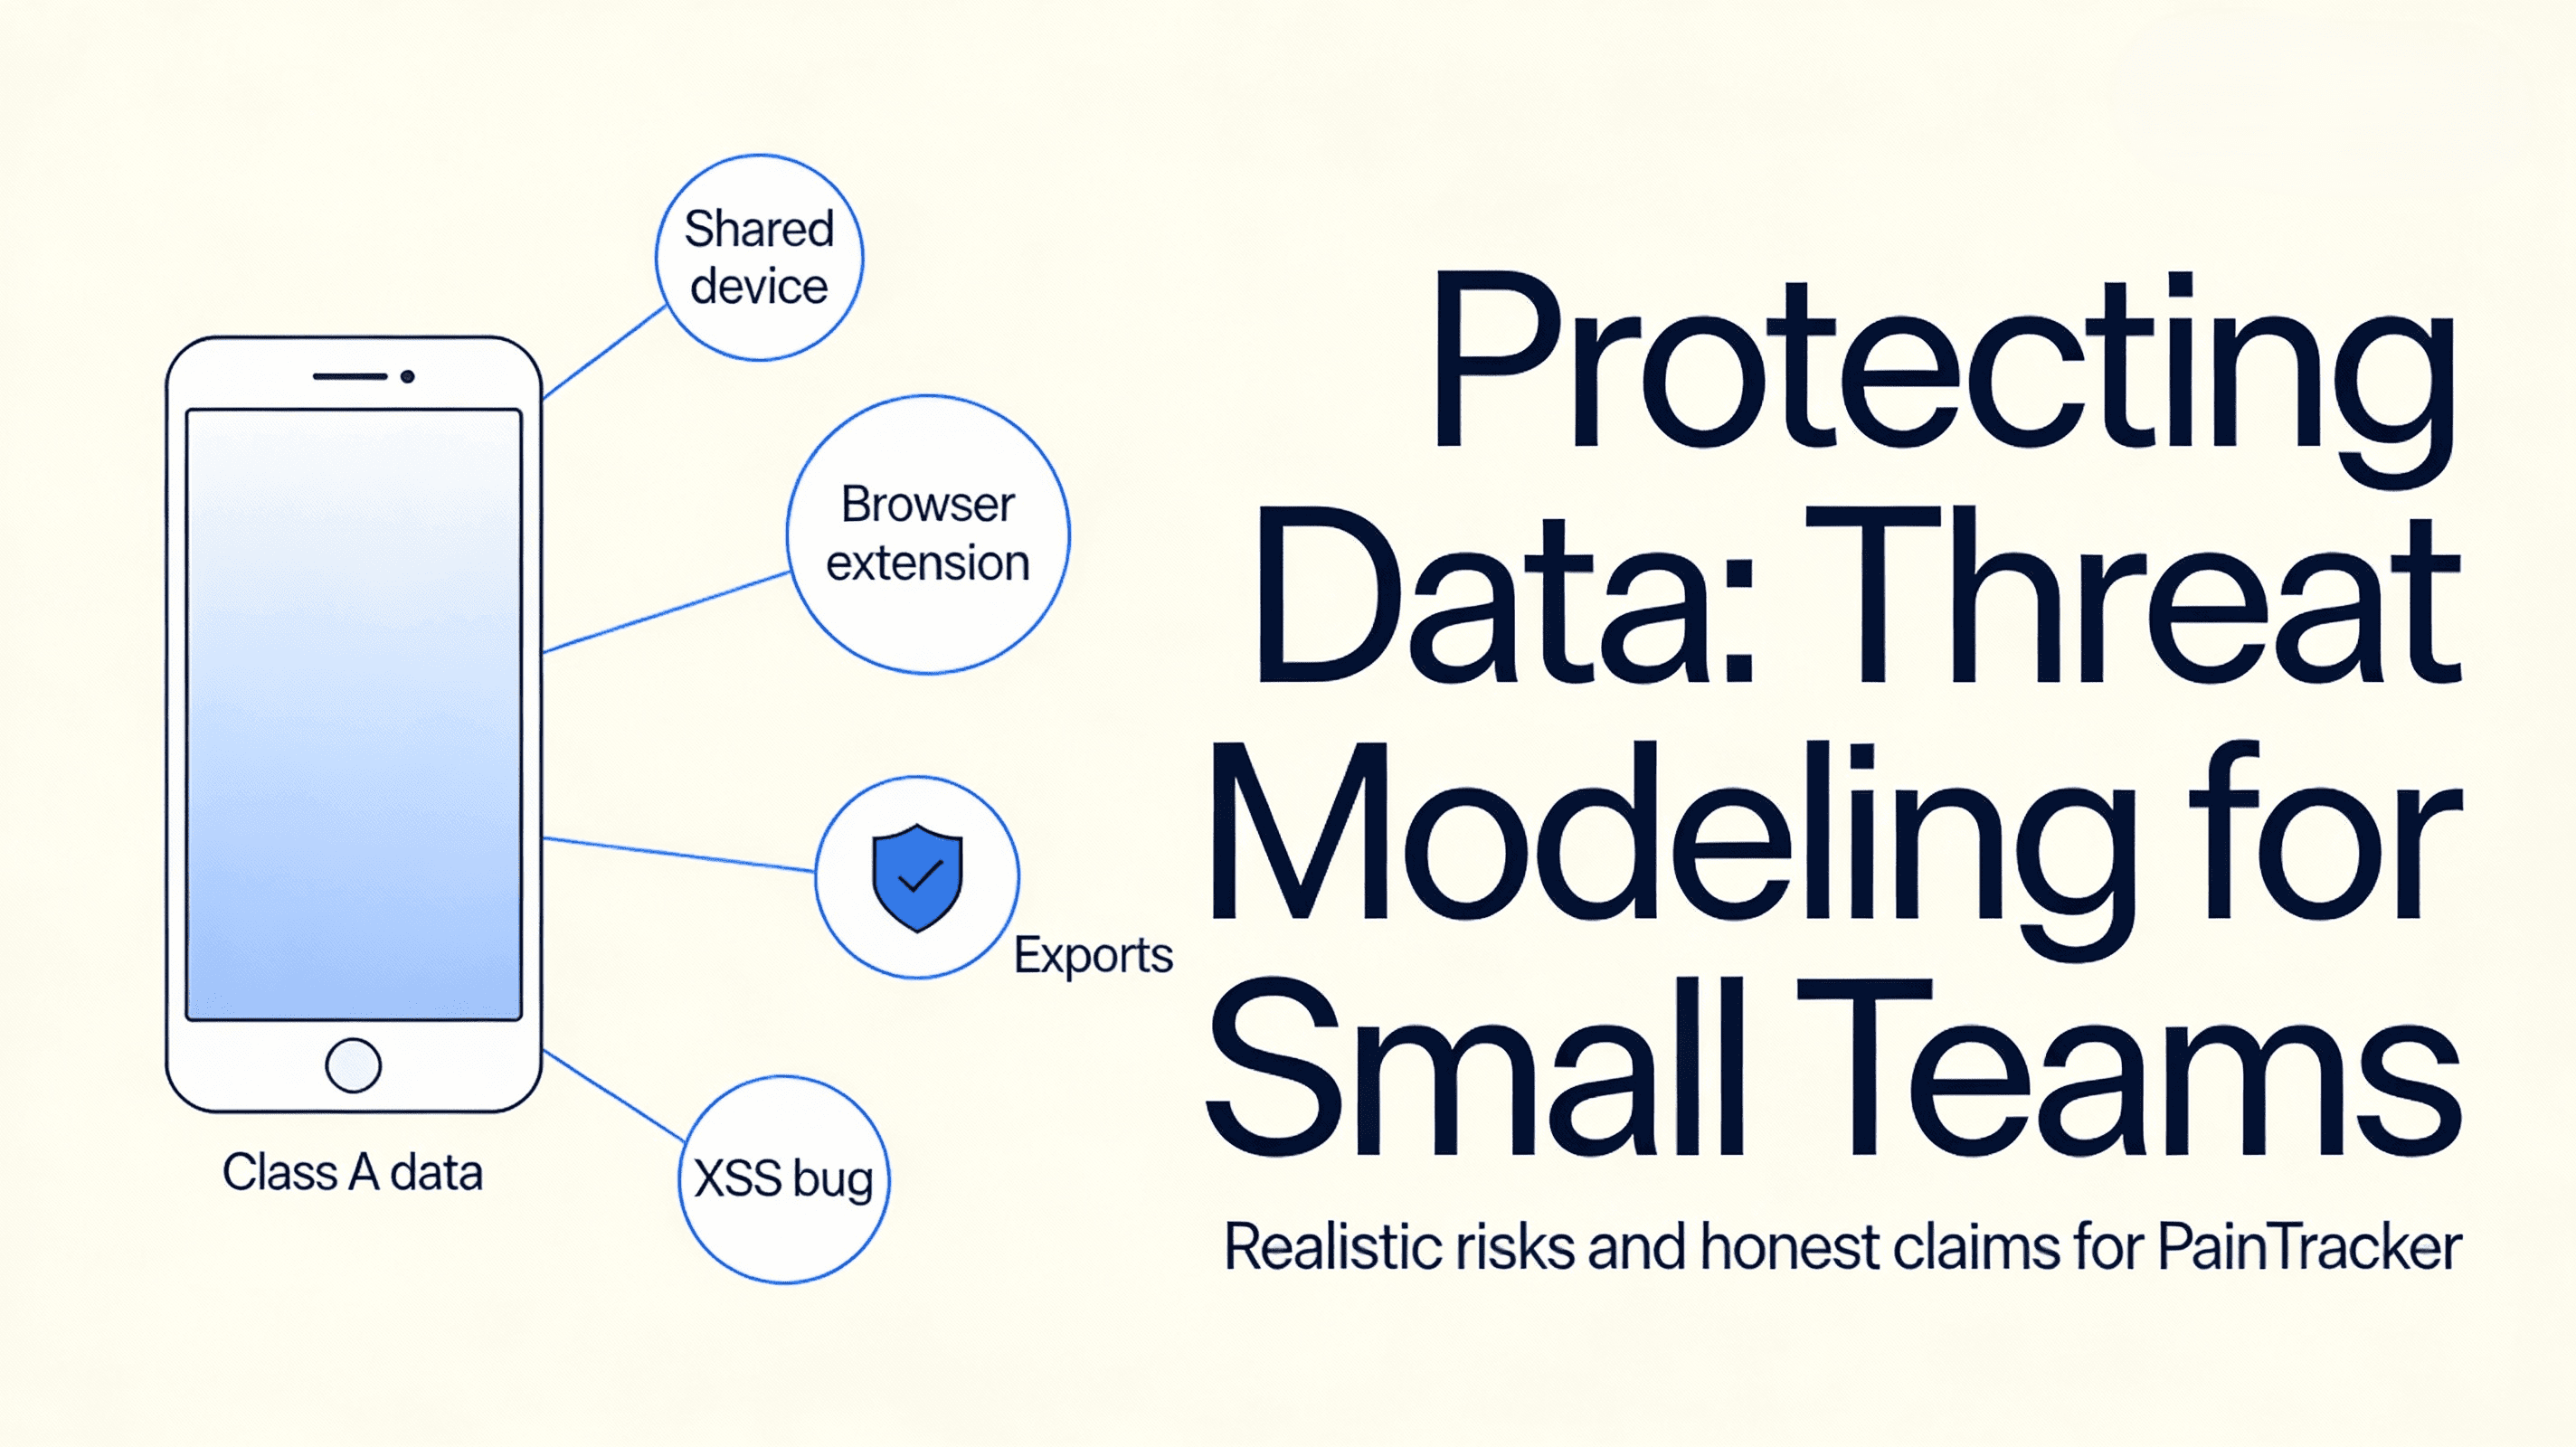
Privacy threats aren’t abstract. They look like a shared device, a curious coworker, a browser extension with too much access, or an export sent to the wrong place.
Threat modeling doesn’t require a security team. It requires honesty.
For small teams, the goal isn’t “perfect security.” It’s to:
- identify the most likely risks
- implement controls that reduce harm
- avoid false reassurance
If you’re building for people in pain, “false reassurance” isn’t just a marketing problem. It changes how people use the app.
Step 1: define the assets (what you are protecting)
Start by naming the assets:
- Class A data (entries, notes, attachments, exports)
- export artifacts (PDF/CSV/JSON) once generated
- any secrets or keys used for at-rest protection (if applicable)
Your architecture decisions should flow from the assets, not from trends.
Step 2: define the adversaries (be realistic)
For a privacy-first health PWA, realistic adversaries include:
- someone with access to the unlocked device
- a malicious browser extension
- accidental oversharing via exports
- XSS within your origin (a bug becomes a data leak)
Be careful with adversaries you can’t solve:
- compromised OS / spyware
- physical coercion beyond app controls
You can mitigate, but you can’t guarantee.
Step 3: map entry points
List how data enters and leaves:
- UI input fields
- local persistence layer
- export boundary
- (optional) any network calls you might add later
Threat modeling becomes simpler when the map is explicit.
Step 4: choose controls that match your constraints
Controls that usually pay off for small teams:
- strict content security posture (reduce XSS risk)
- aggressive redaction in logs (never include Class A)
- minimal on-screen exposure (privacy in public spaces)
- explicit export UX with preview and opt-in details
- secure-by-default feature flags (no hidden telemetry)
Step 5: define your “truthful claims”
Write the claims you can defend:
- “Works offline.”
- “Data stays on this device unless you export.”
- “No default telemetry.”
Avoid claims you can’t:
- “Unhackable.”
- “Protects against spyware.”
- “Guaranteed privacy.”
Threat model quick check
1) Assets, adversaries, and entry points are written down 2) Top 5 risks have concrete mitigations 3) Logs and analytics do not contain Class A content 4) Export is treated as a boundary crossing 5) Claims are honest and scoped
Next: Part 9 — Testing Accessibility with Free Tools and Real Users
Next, Part 9 builds a repeatable accessibility testing workflow that doesn’t require a lab: automated checks, keyboard tests, screen readers, and targeted observation.